jimcleary
James M. Cleary
John
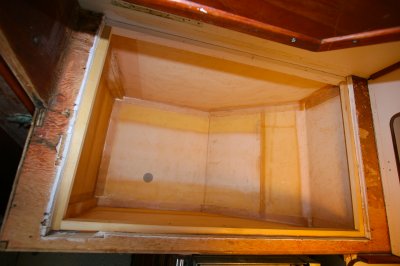
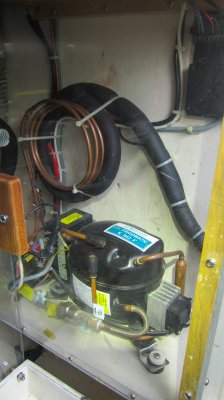
When we decided to go from ice to refrigeration, I talked to Nigel Calder at the Annapolis boat show. I asked him which was the best system to install. His answer was the Frigaboat keel cooler system. But, he said, don't put in any refrigerator until you rebuild and insulate the boats icebox. He felt that no builder makes a efficiently insulated box. Taking his advice we decided to start from scratch.
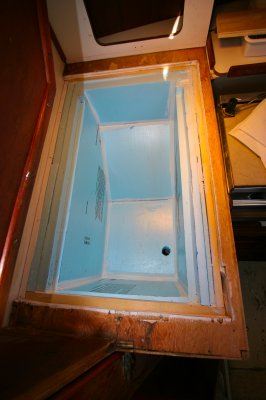
Photo #3- The formica was chipped away to reveal the screws securing the top. The original door was kept and was reinsulated.
Photo #4- Screws found and removed.
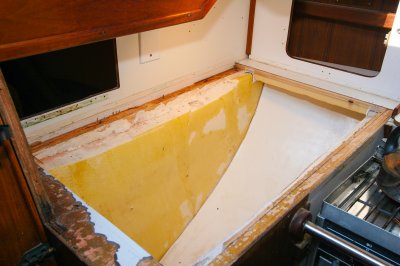
Photo #5- A saber saw was used to cut the top so that the upper cabinet unit didn't have to be removed. The 3/4" plywood top was saved to be reused.
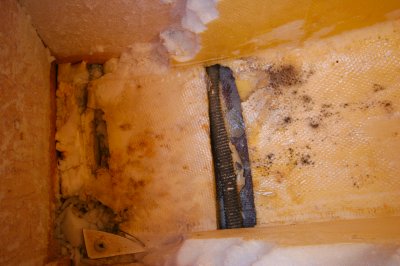
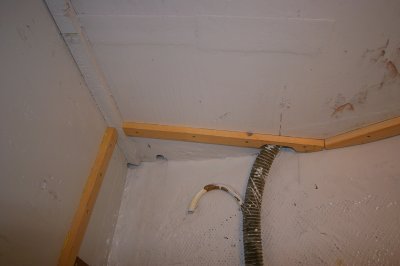
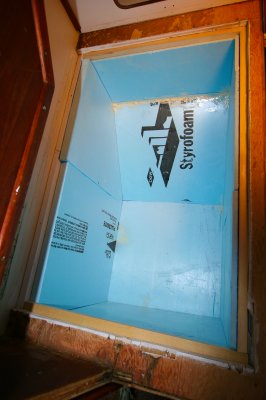
Photo #7- The inner fiberglass liner was cut with a sawzall in the corners and the pieces saved. What was left of the original insulation, which was badly deteriorated, was removed.
Photo #8- The insulation on the bottom of the box was against the hull and did not fare well.
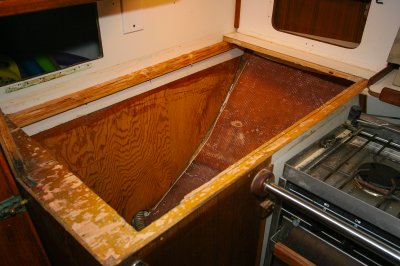
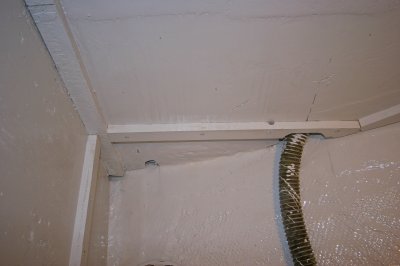
Photo #9- Down to plywood and hull all cleaned up.
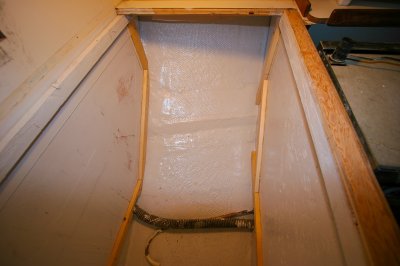
Photo #10- Added tabbing to secure the bulkheads, fore & aft, to the hull.
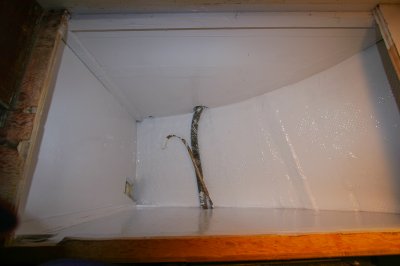
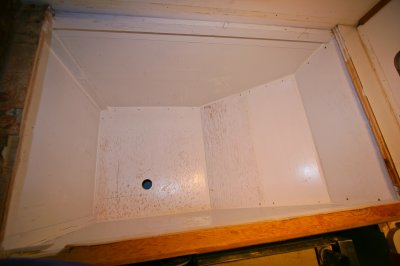
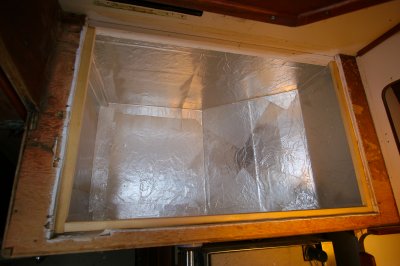
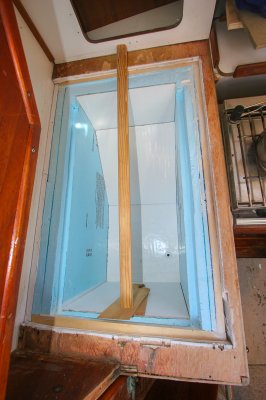
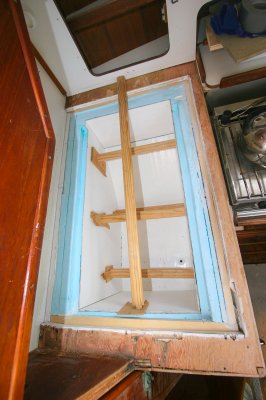
Photo #11- The interior painted with Bilgecoat paint.
When we decided to go from ice to refrigeration, I talked to Nigel Calder at the Annapolis boat show. I asked him which was the best system to install. His answer was the Frigaboat keel cooler system. But, he said, don't put in any refrigerator until you rebuild and insulate the boats icebox. He felt that no builder makes a efficiently insulated box. Taking his advice we decided to start from scratch.
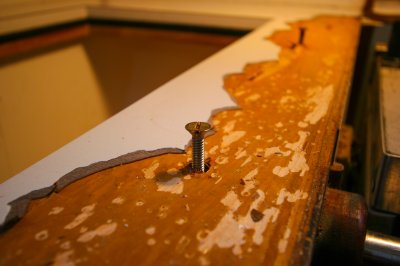
Photo #3- The formica was chipped away to reveal the screws securing the top. The original door was kept and was reinsulated.
Photo #4- Screws found and removed.
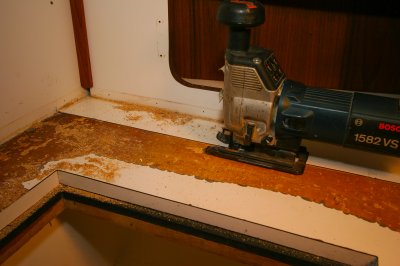
Photo #5- A saber saw was used to cut the top so that the upper cabinet unit didn't have to be removed. The 3/4" plywood top was saved to be reused.
Photo #7- The inner fiberglass liner was cut with a sawzall in the corners and the pieces saved. What was left of the original insulation, which was badly deteriorated, was removed.
Photo #8- The insulation on the bottom of the box was against the hull and did not fare well.
Photo #9- Down to plywood and hull all cleaned up.
Photo #10- Added tabbing to secure the bulkheads, fore & aft, to the hull.
Photo #11- The interior painted with Bilgecoat paint.
Attachments
-
 Dana Galley Redo-3.jpg3.4 MB · Views: 346
 -
 Dana Galley Redo-4.jpg3.1 MB · Views: 339
 -
 Dana Galley Redo-5.jpg3.4 MB · Views: 328
 -
 Dana Galley Redo-7.jpg3.4 MB · Views: 325
 -
 Dana Galley Redo-8.jpg3.9 MB · Views: 321
 -
 Dana Galley Redo-9.jpg3.8 MB · Views: 331
 -
 Dana Galley Redo-10.jpg3.8 MB · Views: 305
 -
 Dana Galley Redo-11.jpg3.1 MB · Views: 300
")